Easy image classification on the web with ml5 (and p5)
I have been dreaming up plans for a few home/side projects, for some time, that will require the ability to identify the person actively looking at the device. This setup could be useful for adding personalization to some homemade smart devices such as a display for personalized artwork or individual dashboards on a Smart Mirror. In many instances the basic smart device can be accomplished relatively easily using a web application deployed to a Raspberry Pi connected to a display. This kind of setup allows for some really powerful implementations. Adding a webcam to the project and taking the image classification to the web application itself presents some nice simplifications to building some of these projects (e.g. smooth css transitions between content when the result of the image classification changes).
On May 6th, 2020 I caught a few minutes of the PLAY Track of GitHub Satellite | Virtual 2020 during my lunch break. I happened to hop on the stream while Andreas Refsgaard was giving a live demo using ml5.js in the p5.js editor. He was doing some simple image classification tasks, and I thought it would lend itself really well to some of the projects that I had been tossing around in my head. I unfortunately had to hop off the stream to attend a meeting, but kept the demo up to play with later.
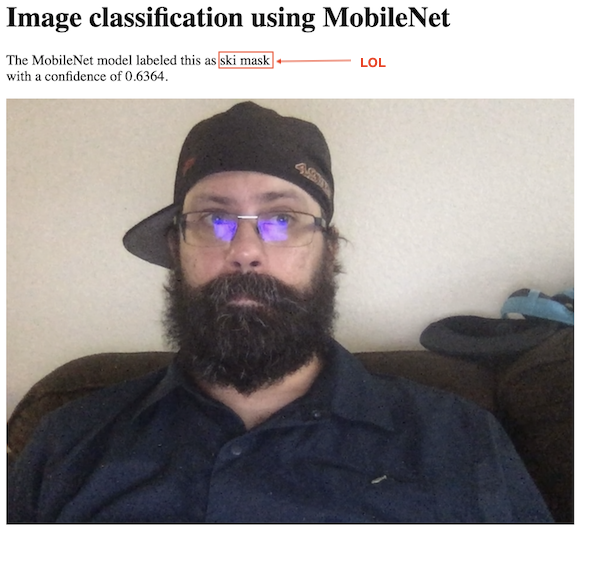
I wanted to take the basic premise of that demo and move it out of the p5 editor to be used in a more generic context (and hopefully into my home projects in the future). I started poking at some of the examples provided in the ml5 documentation, in particular the plain javascript ones. In some cases these worked great (even without p5 being included) and yielded some amusing results.

I did find, however, that some of the ml5 features only seemed to work when including p5.js (in particular the featureExtractor function that I wanted to use). It was relatively straight forward to remove the dependency on p5’s DOM library, but without the p5 core library the featureExtractor function would hang (there are some caveats in the ml5’s documentation so this wasn’t super surprising). I created the the Image Classification using Feature Extractor with MobileNet page on this site using these libraries to start experimenting with this functionality.
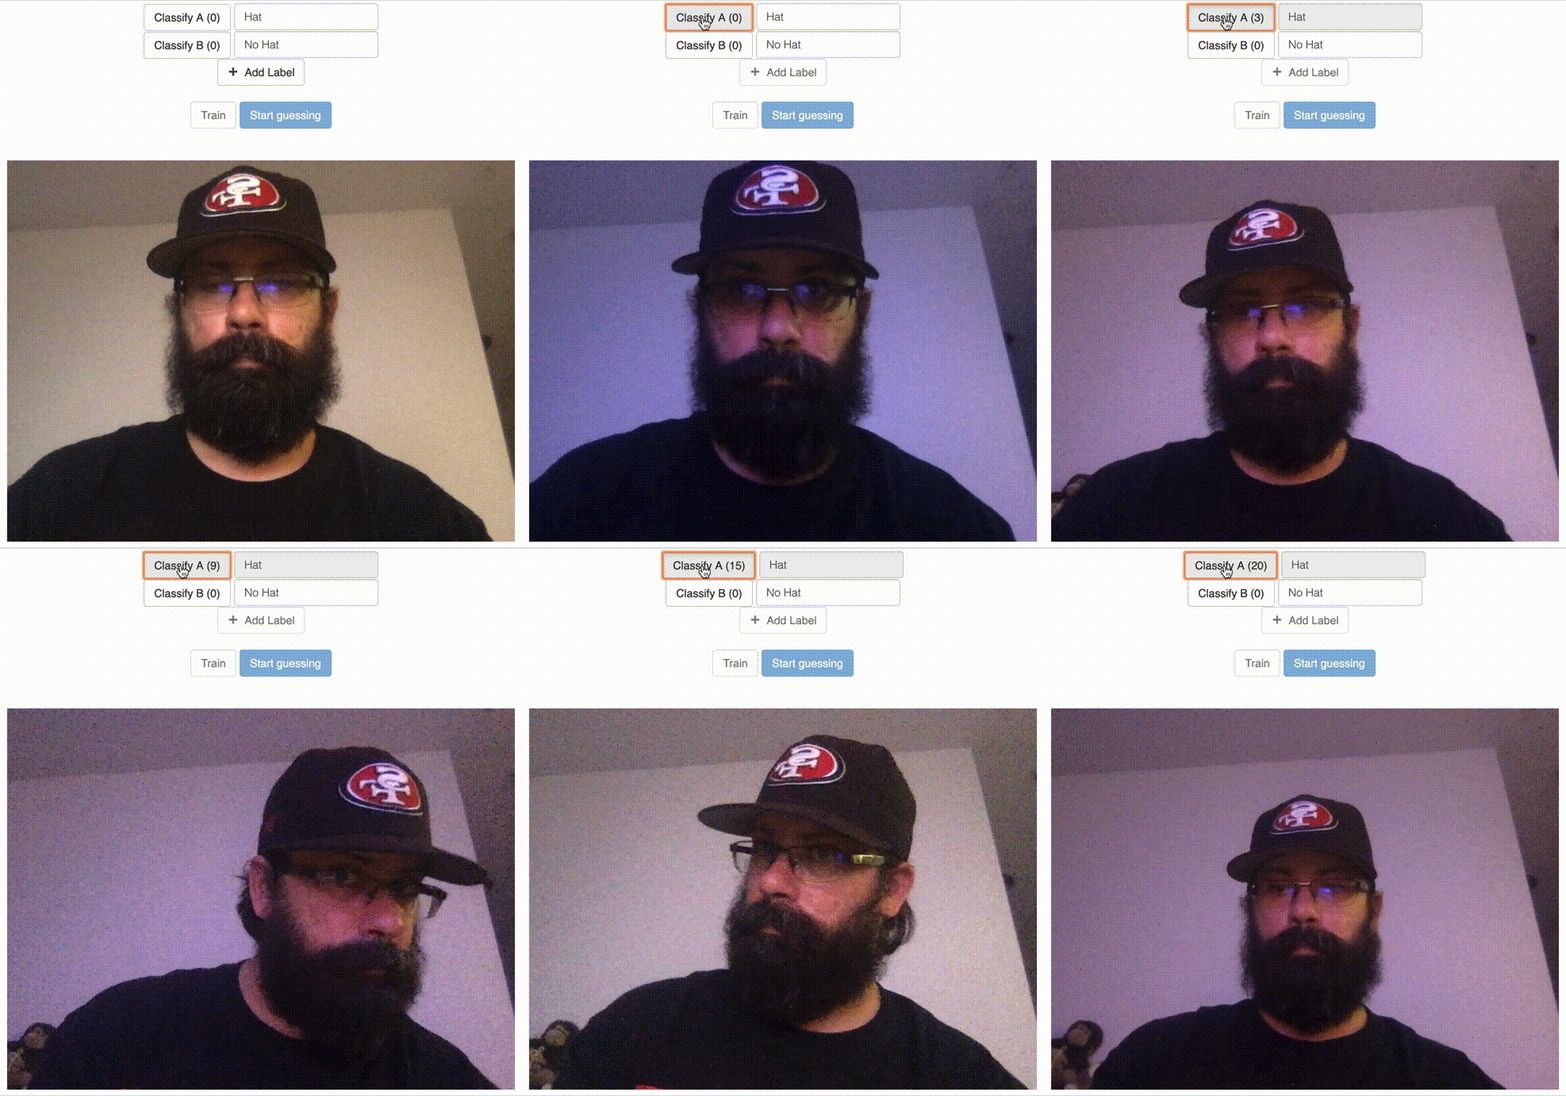
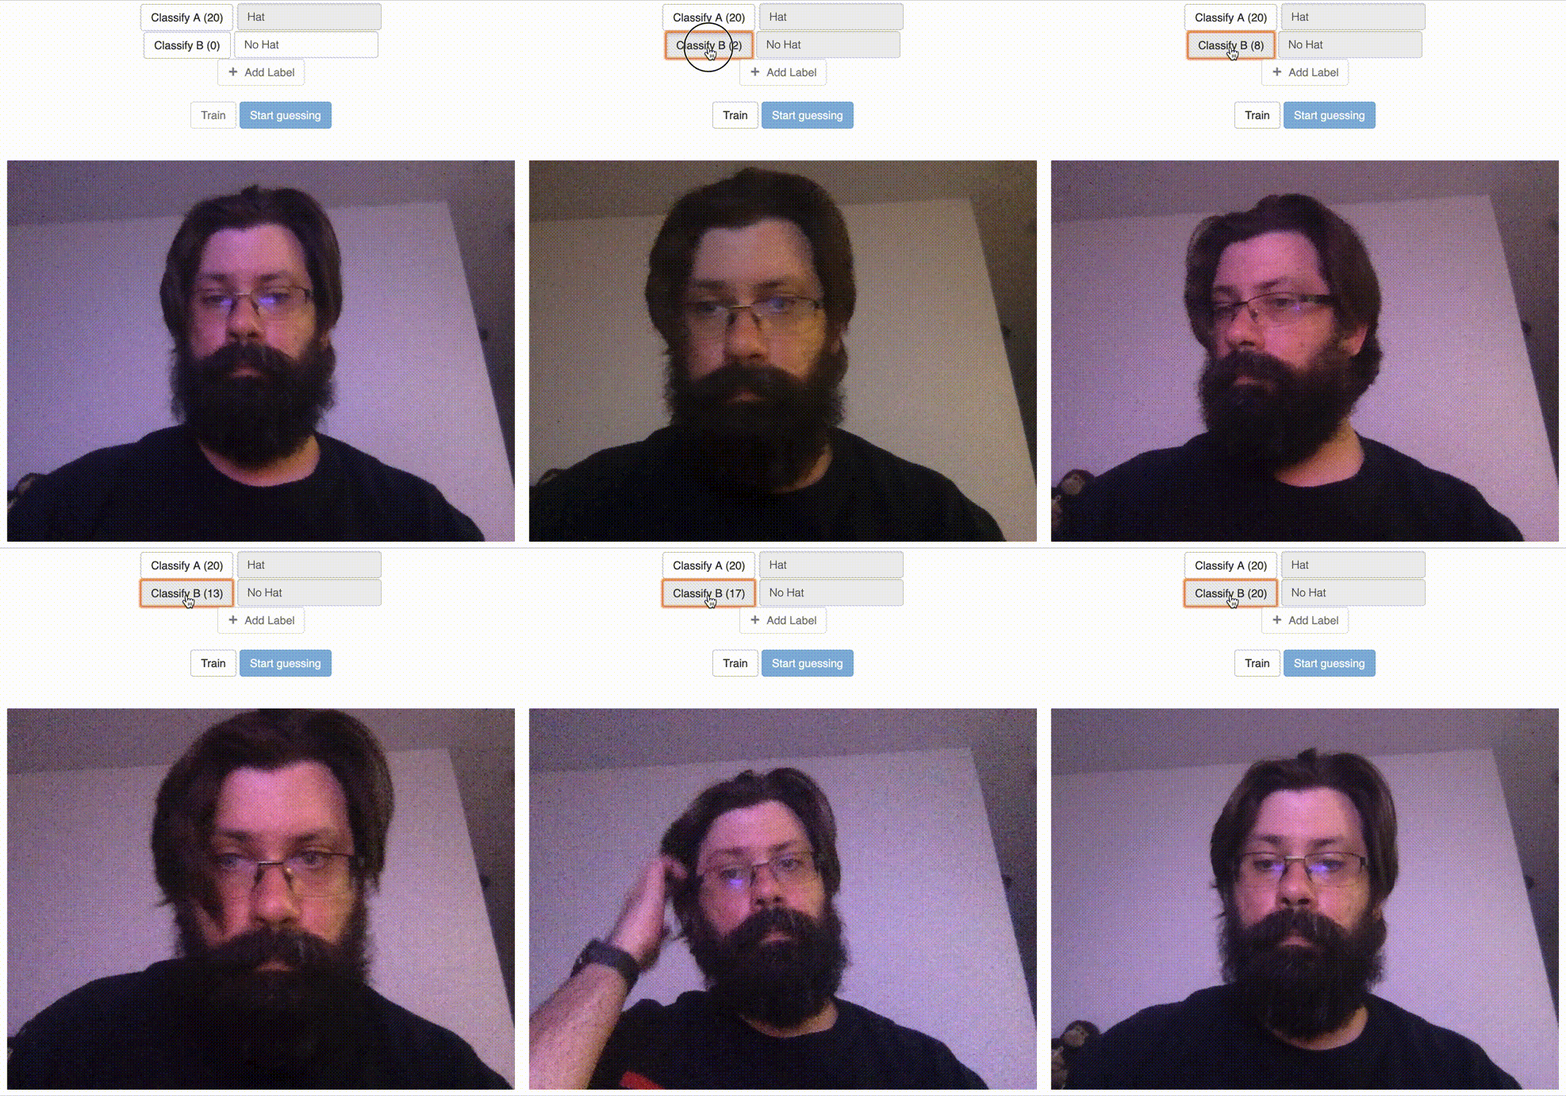
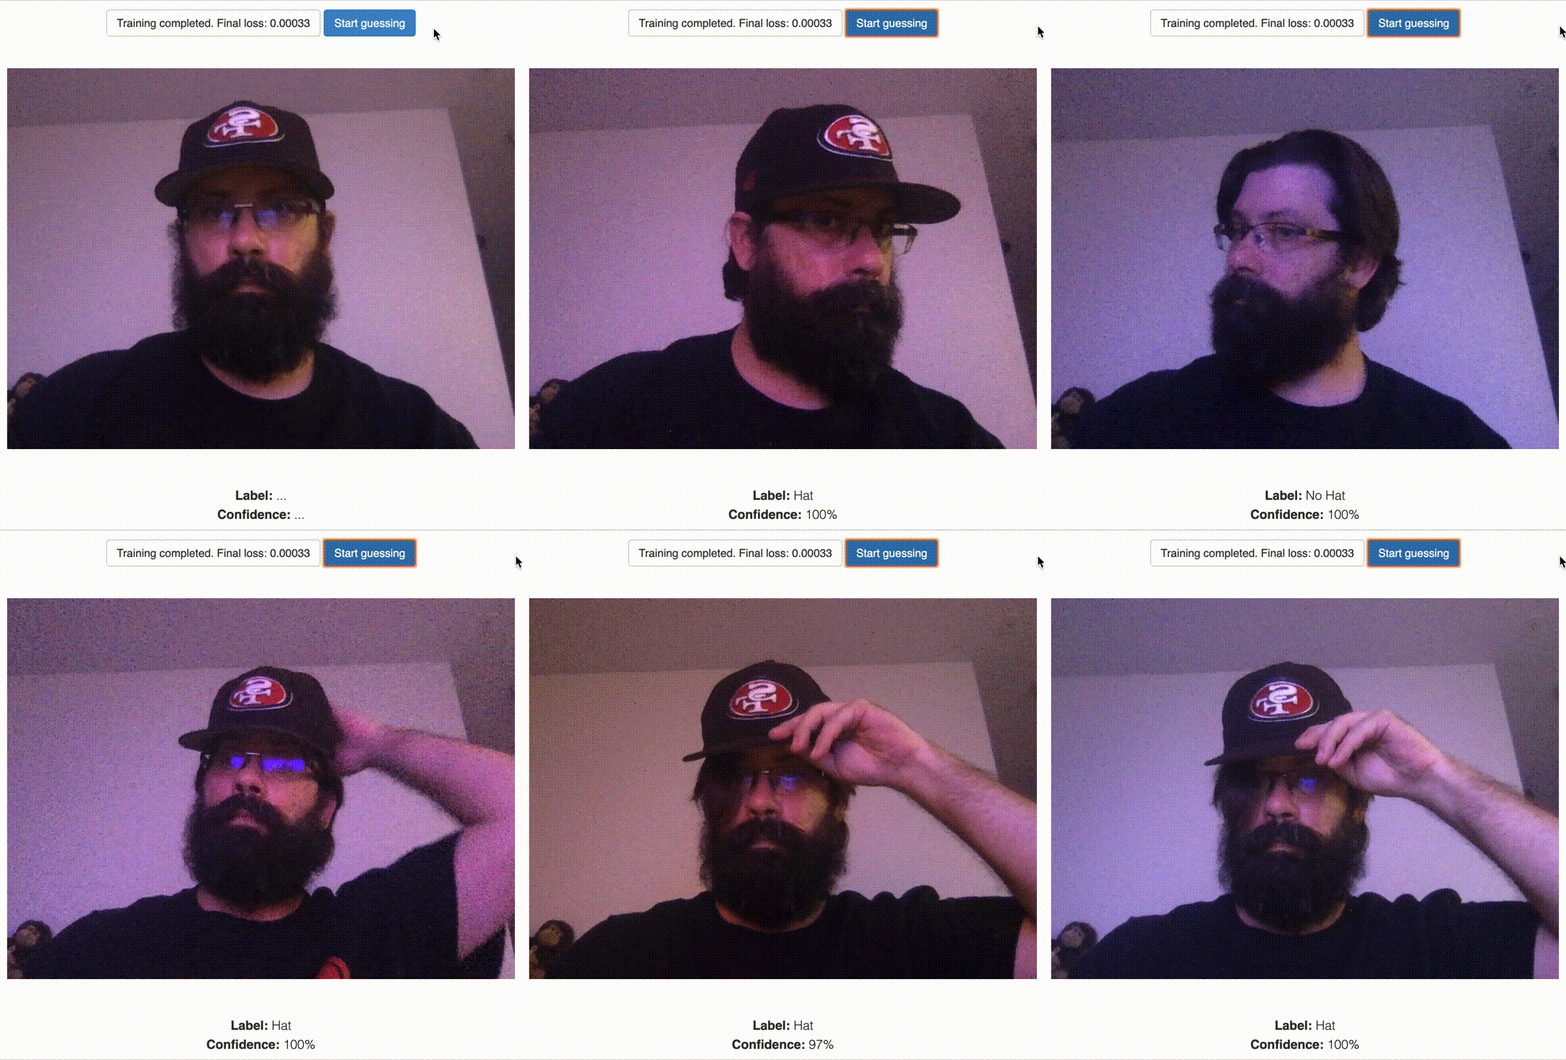
This page allows you to use your webcam to classify images with a set of labels and train a (savable/loadable) model. Then using the featureExtractor’s classifier, the user can use the webcam to classify/”guess” what is currently being displayed in the webcam using the given model. You can see how this could lend itself to a simple web based display that would load a trained model and the classifier to display particular content based on if the classifier identified a particular trained label. You can the page in action below.
Classify the “Hat” Label

Classify the “No Hat” Label

After Clicking the Train Button

Guessing Using the Trained Model

Implementation
The Github Satellite demo I mention above does a good job at distilling the main steps to seeing up a feature extractor / classifier like this. The code for the classifier is relatively straight forward, but the broad strokes are:
Start Capturing Video
video = document.getElementById('video');
navigator.mediaDevices.getUserMedia({ video: true })
  .then((stream) => {
    video.srcObject = stream;
    video.play();
  })
Setup Feature Extractor (using MobileNet)
featureExtractor = ml5.featureExtractor('MobileNet');
Setup Classifier
classifier = featureExtractor.classification(video);
Add Captured Images to Classifier Under a Given Label
This is triggered on the “click” of the button next to each label input, so the label is the user provided label.
classifier.addImage(label);
Train the Model
This is trigged when the Train button is clicked and uses all the captured images for each label to train the model. The function takes a callback argument that is given the loss value and is used in the demo page to update the button text (not not included in this example).
classifier.train();
Classify Using the Model
This is triggered when the Start guessing button is clicked and then uses the given model (either just trained or loaded) and switches the video input from a “training” mode to a “guessing” mode. The function takes a callback argument that is given the label that is guessed and the confidence of the guess (which is what is used to print the label and confidence below the video).
classifier.classify();
Conclusion
The models produced by this kind of training can be useful with even a small number of images used to train depending on the the classification that needs to be done (e.g. the above example used 20 images per label). The model produced by the above training set would not produce an accurate prediction/guesses for any person wearing any kind of hat, but for the type of purpose driven use cases in my personal projects, this will likely yield very accurate results with relatively small training sets.
Setting up the feature extractor to train a model to classify user provided labels (in plain javascript) was relatively straight forward. Using the ml5 library (once p5.js was also included) was a pleasure to work with and greatly lowered the bar to some pretty powerful machine learning tools to web based projects.